By Myles Johnston
I have always loved painting flowers, especially dried roses because of the way the drying process creates drama and almost gives them another life. Dried roses offer a different narrative to fresh flowers that I’ve always found to be particularly beautiful. When I paint dried flowers, I like to add some life back into to them while maintaining their dramatic pose. What I find captivating about painting a close up section of flowers is that it brings you into “their” world and the result evokes a unique energy.
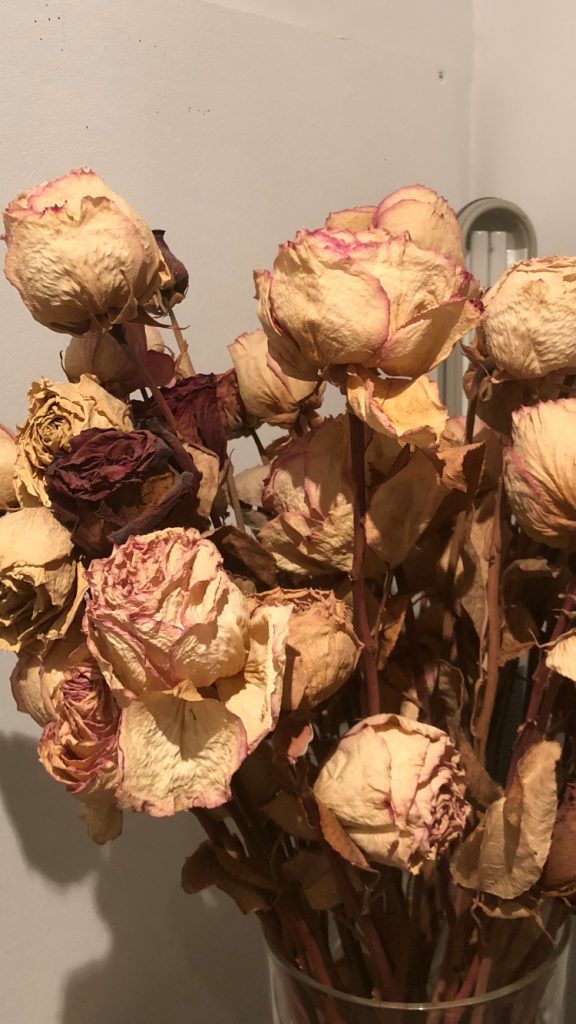
Here is a photo of the bouquet of flowers I was working from. I chose a section of the roses by turning the vase 360 degrees, several times until a section spoke to me. You don’t have to try to find a section, I prefer to let it happen, just simply look and let it tell you!
Because this was supposed to be a live demo, I worked on it as if I was working in front of an audience and used a very direct approach. I would skip a detailed composition preparatory phase and work out the composition as I moved along. It requires a bit more flexibility and creates extra challenges as you will see in the step by step explanations below, but with a little patience, it also allows you to be very expressive.
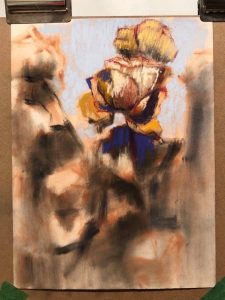
STEP 1 : Once I determined the section of roses I wanted to paint, I began by doing a basic line drawing to place the main roses where I wanted them in my composition, using pan pastel sepia colour and their soft tools applicator.
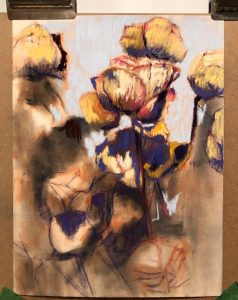
STEP 2 : Due to the complexity of painting a close up section of a bouquet of dried roses, I decided it would be better to start by developing one main rose and its surrounding background to have something to compare all other parts of the painting to. This would allow me to have a better control of the sense of depth and perspective as I moved forward. I also decided to do it this way so that I wouldn’t have to commit to the placement of roses on the outer sides of the painting until later. This would allow me to make compositional changes as I go, while keeping the painting feeling fresh. This rose will be my main focal point, however, because the composition is so busy I have to find a way to only slightly suggest it as the main focal point.
STEP 3 : I started working on the other main flower in the foreground and blocking in some darker areas as I continued to find and build that feeling of depth. It was very challenging to paint a feeling of “distance” between the roses, leaves and stems so that it wouldn’t look flat. I was surprised at how soft some edges needed to be to create that separation.

STEP 4 AND 5 : I have now started to add in flowers around the main ones and deciding on their placement. I am beginning to make slight variations of what I actually see, by moving flowers around, changing their angles, maybe even exaggerating certain parts of the petals to add more drama. We all have artistic license, so you have to use it! How something may look in real life may not necessarily work in a painting.
STEP 6 : I’m now ready to block in some of the dark areas and figure out where I want to place the roses on the right. You can see some stem lines that I have loosely put in, simply to test the composition and see if it gives me some hints on where and how to continue the painting.
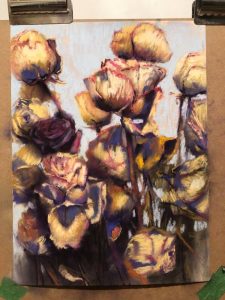
STEP 7 : The two roses I have added on the right were actually a bit further to the right and at different angles in the actual bouquet. However, I placed them the way I wanted them to be in my composition, and also changed the shape of some of the petals to make them more dynamic. I also added more color and texture than what actually exists, but it’s still all based on what I see – I’m just making it more lively than it actually is.
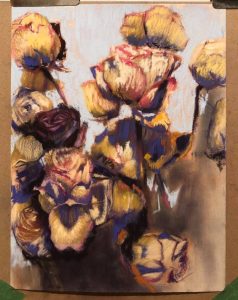
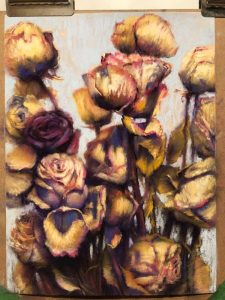
STEP 8 : At this stage I have my composition figured out, and I can finally start working the painting as a whole. Pushing and pulling darks and lights, softening and sharpening edges, playing with tone and values, while striving to achieve a sense of depth and separation in this very tight and busy bouquet section. I have also begun bringing down the blue in the background between the stems in the lower portion.
STEP 9 : Here I’ve started adding details in the shadow areas with leaves and vines/stems, as I continue to work the painting as a whole. Every detail I put in at this point will affect every other part of the painting.
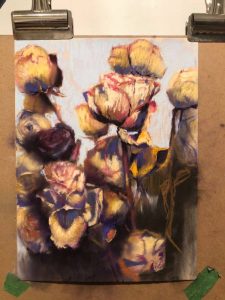
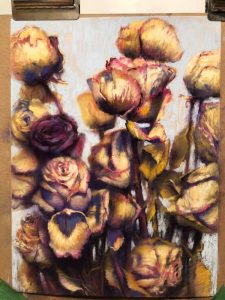
STEP 10 : I noticed the leaf below the main top flower in the center isn’t working. Dried leaves tend to stick together and form odd shapes that are hard to distinguish. I don’t like to leave something in a painting that doesn’t look right even if it’s exactly what you see in your still life setup. If you look at anything long enough, you will start to see patterns, kind of like when you look at clouds in the sky and you start seeing shapes and images. This is exactly what I did with this leaf issue, and managed to “see” and create one leaf overlapping the other all from imagination and was much happier with it.
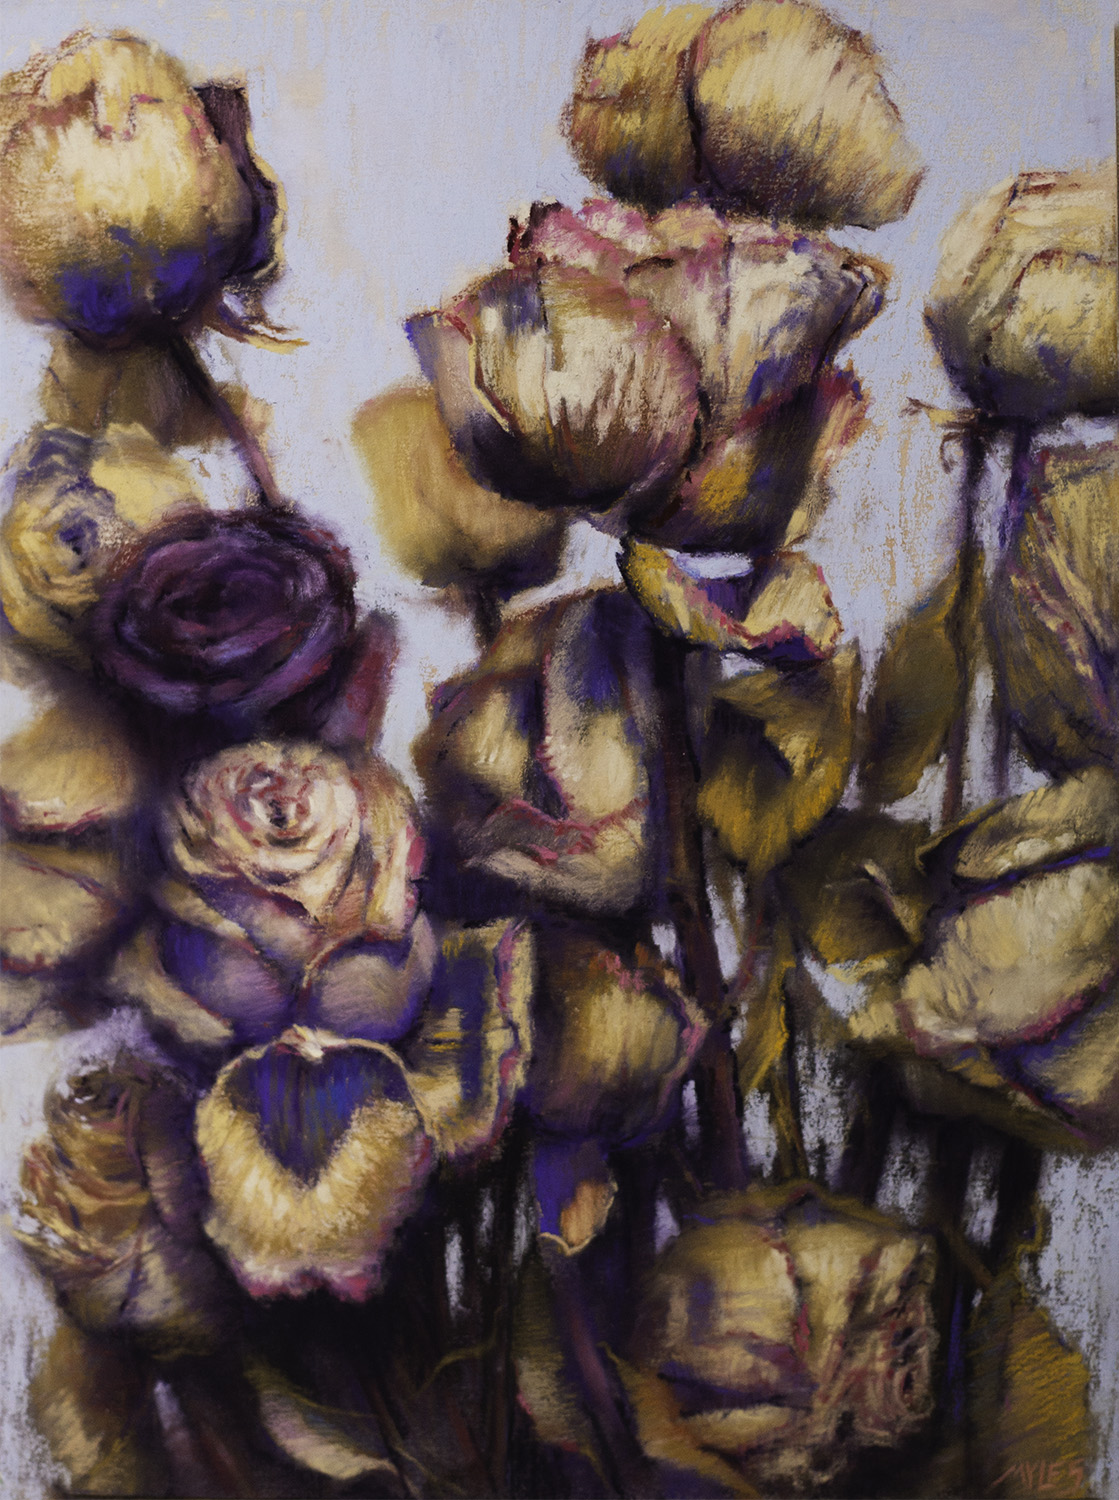
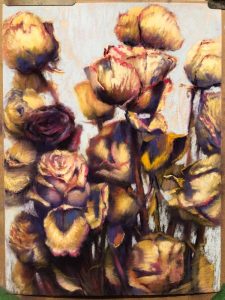
STEP 11 : At this stage i’m putting the final touches on the painting. Checking every flower and section one by one, while being very mindful not to overwork the painting and lose that fresh feeling. This the fun part where you get to zero in on certain areas and really make them pop!
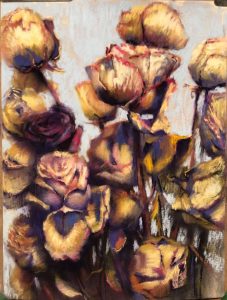
Here is the final complete and signed painting: